When working with deep learning models, especially in TensorFlow Keras, preprocessing plays a key role in determining how well your model performs. These are the early steps where your data gets cleaned, resized, transformed, or normalized — not manually, but by simply plugging in special layers that do all the work as part of your model. This means you don’t have to treat data prep as something separate. It becomes part of your pipeline, just like your Dense or Conv2D layers.
And if you're wondering whether these preprocessing layers slow things down — they don’t. In fact, they’re optimized to run on the GPU whenever possible, which makes them efficient for training at scale. Let’s break down how they work, how to use them, and why you might want to.
Why Preprocessing Layers Exist
Training a model usually starts with input data. But that data is often messy. Maybe some images are 128x128, while others are 256x256. Or maybe your labels are in string format, like "cat" and "dog", and your model needs integers. Traditionally, all this cleaning happens outside the model — in your script, in pandas, or with NumPy. But that creates room for mistakes. It also means your preprocessing logic isn't shared between training and inference.
Keras preprocessing layers solve this problem. They are part of the model. So whether you're training, evaluating, or serving predictions, the input goes through the same steps. No inconsistencies.
Core Preprocessing Layers and What They Do
Let’s look at the most commonly used preprocessing layers in Keras and how each one functions.
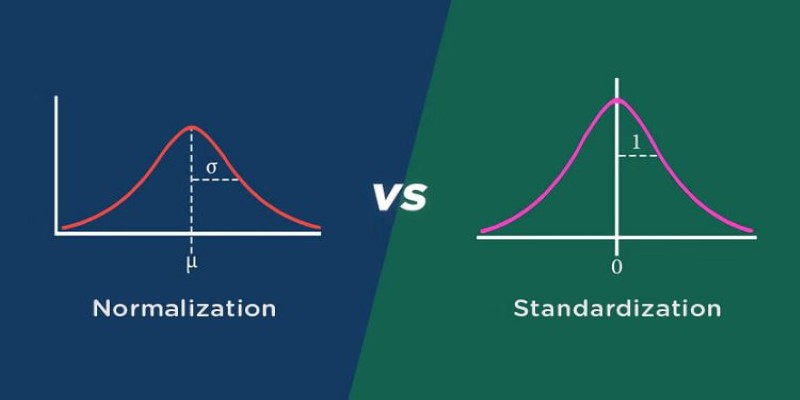
Normalization and Standardization
These layers are designed for numerical input. If your model takes in features like age, salary, or scores, and they’re on wildly different scales, your model might struggle. Keras offers:
- Normalization – Scales input data so it has a mean of 0 and standard deviation of 1. It’s commonly used with structured data and helps the model converge faster.
- You can adapt it using .adapt(data) on your dataset before using it in the model. Once adapted, the layer learns the mean and variance from your training data and applies the transformation during both training and inference.
Rescaling and Resizing for Images
When working with image data, consistency in shape is essential. Neural networks expect input images to be the same size. Keras handles this with:
Rescaling – Adjusts pixel values to a new scale. For example, dividing pixel values by 255 to bring them between 0 and 1.
Resizing – Crops or pads images to fit a target size. Ideal for cases where images come in all shapes and sizes.
Both of these can be added directly to your model right after the input layer, ensuring every image is processed the same way.
Category Encoding
If you're working with categorical features — like "red," "blue," and "green" — you'll need to convert these into something the model can understand. Keras has preprocessing layers for that, too:
- StringLookup – Maps string labels to integers.
- CategoryEncoding – Converts those integers into one-hot or multi-hot encoded vectors.
You start by fitting the lookup layer to your data using .adapt(), just like with normalization. After that, the encoding is handled during training and inference without needing external scripts.
Text Preprocessing

For natural language models, the raw text needs tokenization and vectorization. Keras provides:
- TextVectorization – Turns raw text into sequences of integers. It handles things like splitting spaces, removing punctuation, and capping vocabulary size.
Again, you use .adapt() on your text data before training, and then the same layer will keep transforming raw strings into model-ready input.
Where to Use Preprocessing Layers in the Model
The most natural place to add preprocessing layers is right after the input layer. This way, your model sees only clean, standardized data. Here's a basic structure:
python
inputs = keras.Input(shape=(None,), dtype=tf.string)
x = TextVectorization(max_tokens=10000, output_sequence_length=100)(inputs)
x = Embedding(input_dim=10000, output_dim=16)(x)
x = LSTM(32)(x)
outputs = Dense(1, activation='sigmoid')(x)
model = keras.Model(inputs, outputs)
The TextVectorization layer handles everything — tokenization, removing special characters, and turning it all into sequences. You don’t have to do anything outside the model.
You can also use preprocessing layers in data pipelines using tf.data or inside Sequential models. They're flexible, and that makes them useful for many different situations.
Steps to Add Preprocessing Layers to Your Workflow
When you're ready to use preprocessing layers in your project, start by thinking about what your input data needs. For image data, layers like rescaling or resizing help bring consistency to pixel values and dimensions. If you're working with text, the TextVectorization layer handles tokenization and vocabulary limits. For numerical features, Normalization is often the way to go.
Once you’ve identified what fits your data, set up the corresponding layer. A Normalization layer, for instance, is created with:
python
normalizer = Normalization()
And if you’re dealing with string labels or categories, a StringLookup layer might look like this:
python
lookup = StringLookup(output_mode='int')
Before plugging these into your model, they need to adapt to your data. This is where they learn patterns — like the mean and variance for normalization or the vocabulary for string lookup. You’d typically call:
python
normalizer.adapt(train_features)
lookup.adapt(train_labels)
This is done once, usually before training, and only a sample of the training data is needed to work.
After adapting, you can place the preprocessing layer directly into your model. Here's an example:
python
inputs = keras.Input(shape=(10,))
x = normalizer(inputs)
x = Dense(32, activation='relu')(x)
outputs = Dense(1)(x)
model = keras.Model(inputs, outputs)
From this point forward, your model automatically applies preprocessing during training and inference. You don’t have to manually reapply transformations when making predictions — it’s already built into the pipeline. This cuts down on errors and helps keep your workflow simple and reliable.
Final Thoughts
TensorFlow Keras preprocessing layers bring structure and consistency to model building. They cut down the amount of manual cleanup you need to do, and since they’re part of the model, they keep your training and inference steps in sync. Whether you’re dealing with numbers, images, or raw text, these layers cover all the groundwork — cleanly and efficiently.